
How To Clean A Skull
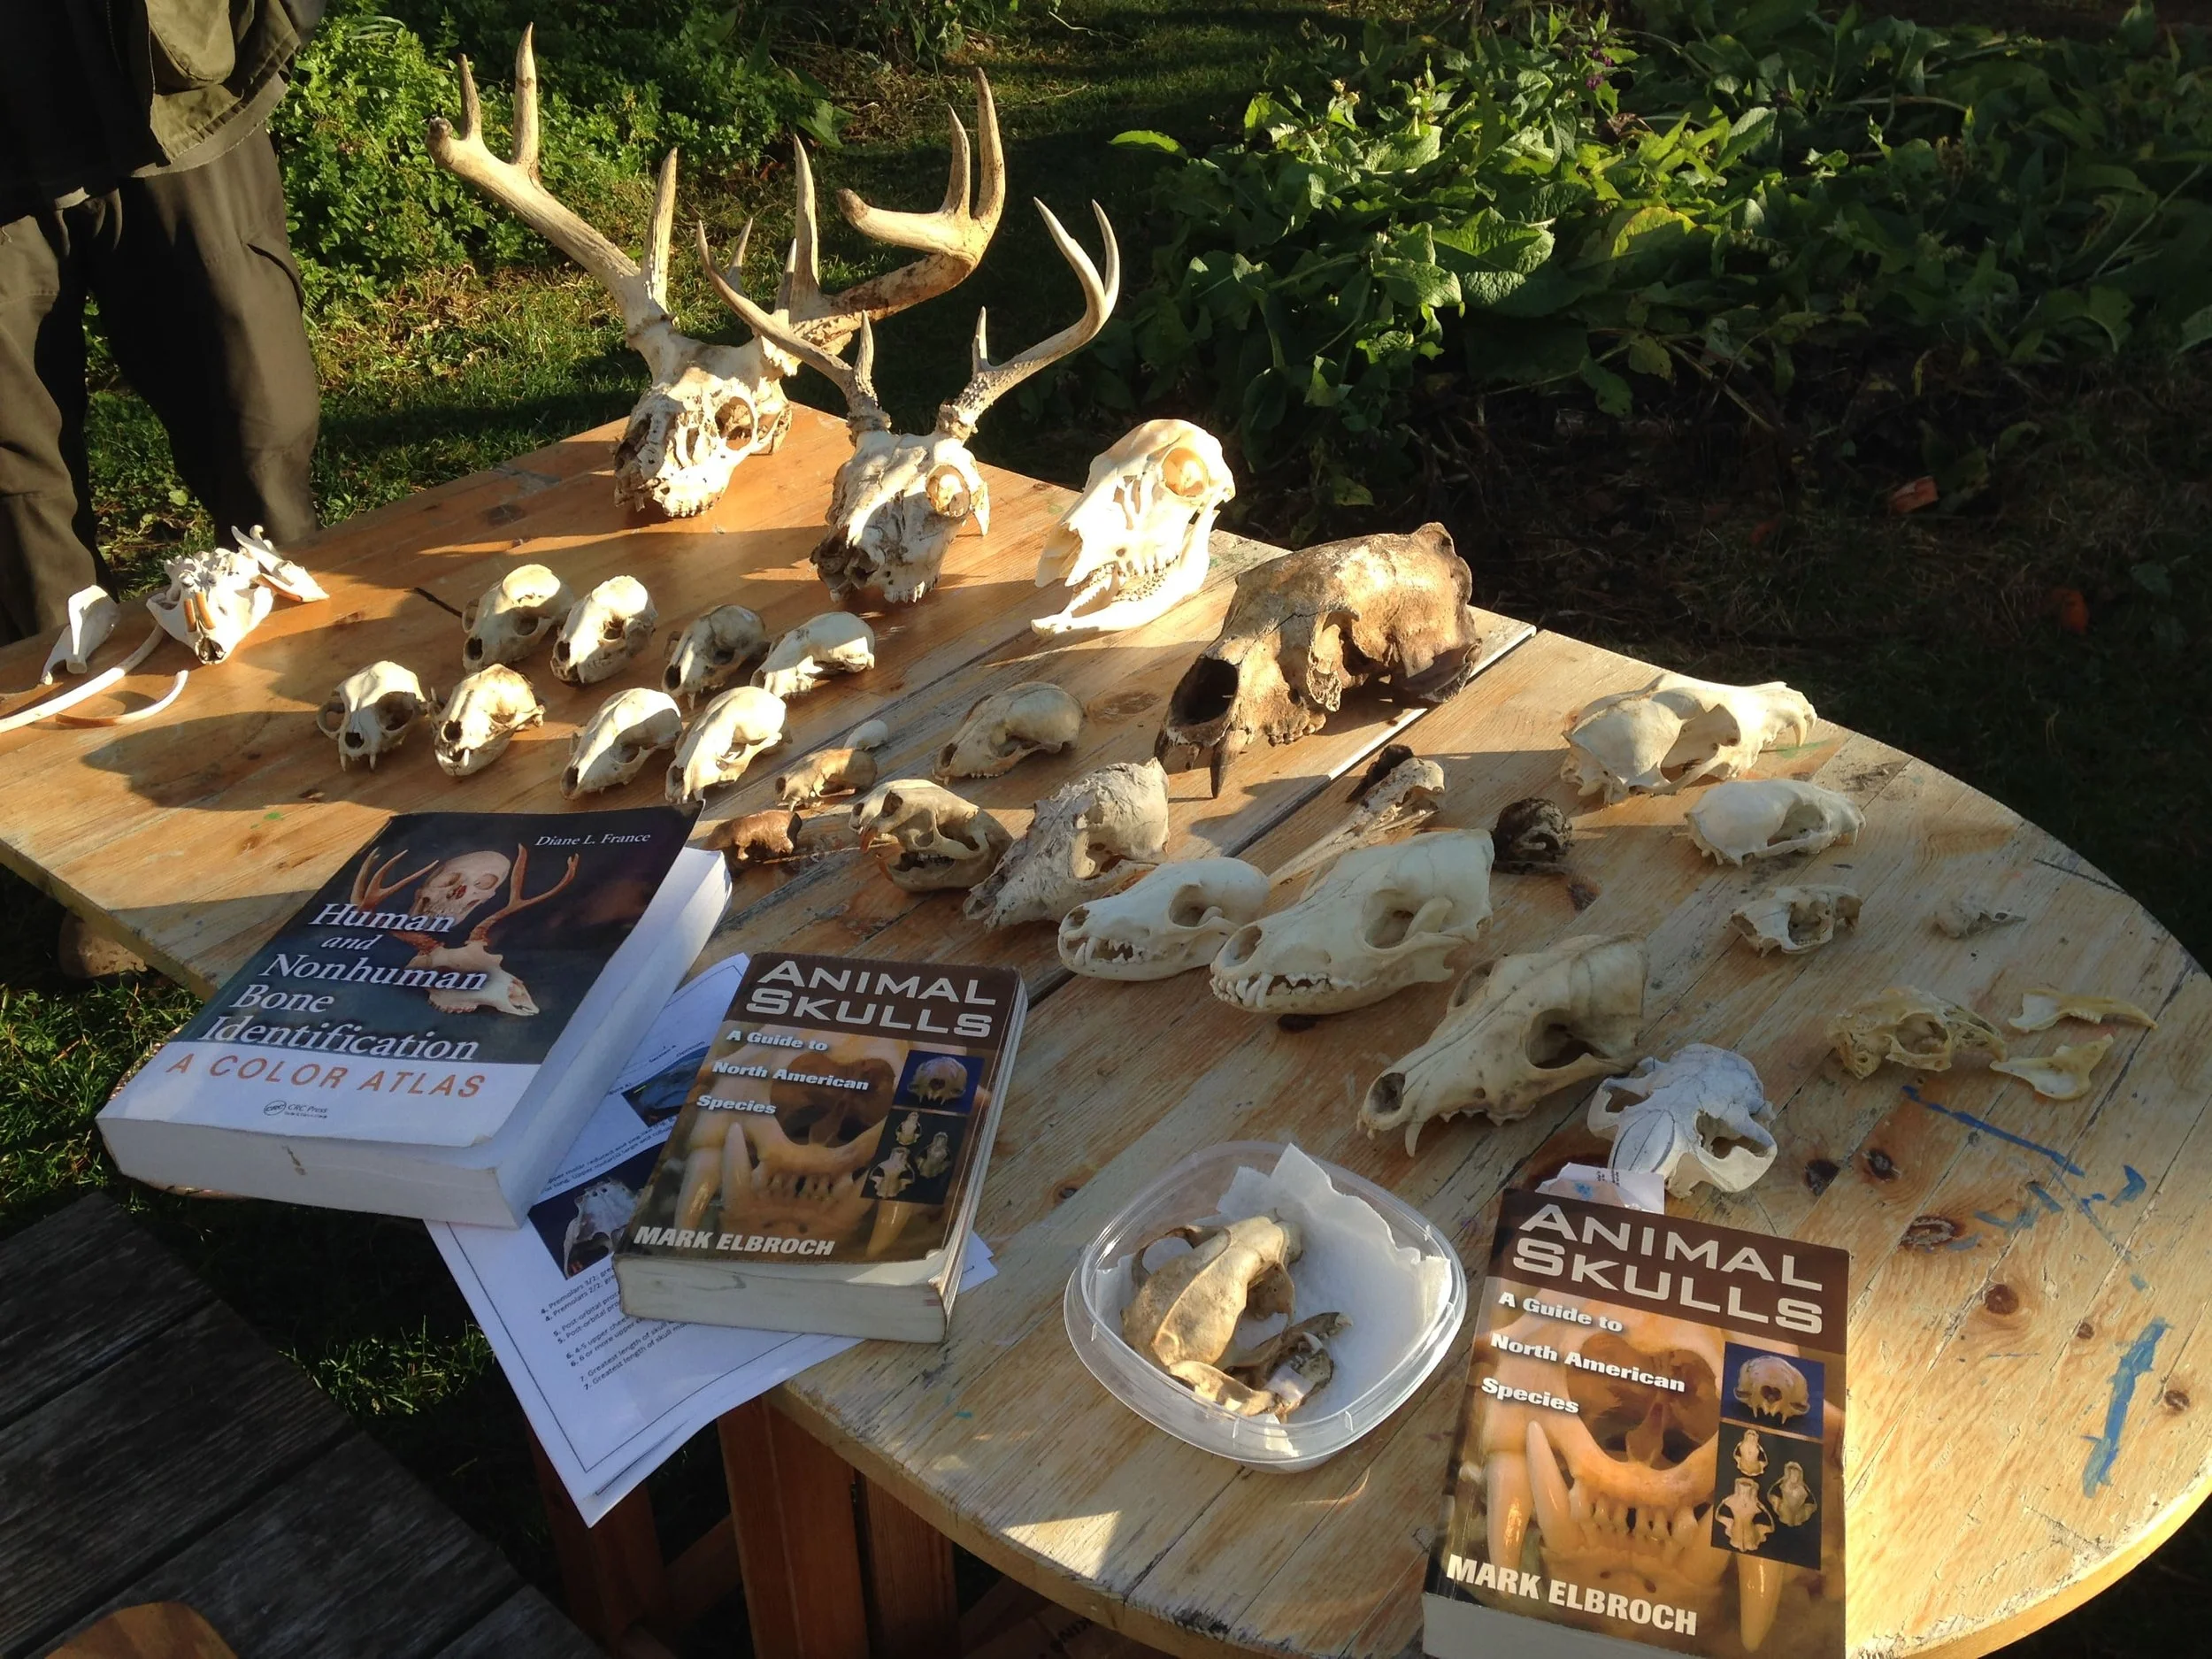
This past weekend with the Earth Tracks Wildlife Tracking Apprenticeship I got to host a mini-workshop all about skulls. It was a chance to share some of my enthusiasm about the wonderful ecologies of a boney structure which hold, protect, support and enables our lives. Why not be in love with skulls?
One thing I wished I could have touched on more clearly and more eloquently for everyone was how to clean a skull, which is a question that comes up every time I bring out skulls in any of my programs. So in light of that questions, and my glossing over it in the interest of time this weekend, I decided to explain some of how I clean the skulls I find. Sadly I have not taken any photos of the process over the years as I never thought anyone would be interested, and I havn’t had to deep clean a skull for a while so even when folks were interested, there was never a chance. I hope to photograph all of the steps for the next skull I clean.
Let’s begin.
While there are many options to clean skulls detailed in various books, papers, websites, videos online, I have been cleaning my skulls through a process called “water maceration” which at first seemed like a pretty intimidating process, but once broken down I came to see as a method that required very little work, didn’t harm the environment, and maintained the integrity of the bone and teeth of the skull for years to come.
Water maceration pretty much just means soak the skull in a bucket and let the bacteria do the work. Sometimes it takes a short time, sometimes a longer time, depending on the amount of flesh still on the skull, the size of the skull, and the temperature of the water. Warm water is best, but let’s get into the details.

Oppossum (Didelphis virginiana) skull found at Preservation Park in Guelph, 2018.05.04
Skin It
First step, take the skin off. This can be tricky, especially with smaller skulls, but do your best. If you're using a knife make sure you are careful. I havn't done all my research but it seems like if there are bacteria on the skull trying to break down flesh, you do not want to cut yourself with a knife with that bacteria all over it. I would suggest being present and mindful, not rushing and maybe just put on some cut-resistant gloves. I have given myself minor cuts while fleshing an animal in the past and I washed my hands thoroughly after I was done, and nothing happened, but just because nothing happened those couple of times, doesn't mean something nasty can't happen in the future. Take care while fleshing the skull. Get as much of the skin and hair off of the skull as possible. If the eyes and brain and tongue are still present, don't worry about it. The bacteria will break them down as well.
Get a bucket
Next you'll need a container that suits the size of the skull. The largest skulls I have cleaned are skulls of larger Does (Odocoileus virginianus). I used a 4 gallon bucket for larger skulls, and smaller 750 ml yogurt containers for smaller ones like Striped Skunks (Mephitis mephitis). Use the size of container that suits size of the skull.
Once a container is acquired, place the skull in the container and fill it with dechlorinated tap water. I would suggest leaving out the water in a vessel for 24 hours with a cloth overtop before pouring it in the bucket with the skull. This allows the chlorine in the tap water to evaporate. Why do we want that? Chlorine kills all the bacteria in tap water that might be present in the water supply. It is really good at killing bacteria so that is why municipalities use it. But in this case, we want to encourage bacterial growth, not diminish it. Let the water stand for 24 hours and it will be fine for use in cleaning your skull.
Make sure enough water is added to ensure that the skull is covered. No need to weigh the skull down with anything. In fact that may damage the skull in the process so just leave it be, and put a lid on it. Move the container to a warm spot, maybe a warm garage, shed, basement, deck, or you can be a daredevil like me and just keep it on the vent in the backroom and hope no one knocks the lid off. The vent keeps the water warm in the colder months and ensures that no backyard critters will be trying to get at the rotting flesh inside. I like to put a labelled piece of tape on the lid detailing when I put the skull in, and when I should check on it.

Peregrine Falcon (Falco peregrinis) skull, found at Mono Tract, 2022.10.29
Let it be
Cleaning the skull by just using bacteria can be a slow process. The bacteria needs time to break things down. The flesh seems to melt and the brain dissolves. Gums disappear, and the teeth start to get loose and fall out. But this is all going to take a while. I usually wait about three weeks before checking on the skull and sometimes longer if the skull had a lot of flesh on it.
The only times when I don't wait too long is if the skull is from a smaller animal, or a younger animal. Smaller and younger animals seem to have less dense skulls. The bone just doesn't seem to be as strong. I have only once had a skull break down in the water, but I did wait too long before checking on it. Perhaps it was already damaged and the flesh was holding it together? Perhaps it got damaged in the process of cleaning it? All could be, but my advice is to check maybe after a week if the skull is smaller than an Eastern Cottontail Rabbit (Sylvilagus floridanus).
When the time has come to check on the skull, I bring the container outside. I don't care how ventilated your shed is, bring it outside. Open the lid and stand back. Sometimes there is barely a scent, but often, especially in warm seasons, and with skulls with lots of flesh remaining at the time of immersion, the smell can be off-putting. Grab a stick or tool which you can very carefully pull the skull out of the water for a closer inspection. While examining the skull, keep it over the container. Things may fall which you do not want to lose, like teeth, or may not want to have to clean up, like brains. Shake the skull with the foramen magnum (the big hole at the back or base of the skull) facing down so any brain material can fall back into the bucket.
If the skull doesn't look too clean, you can use an old tooth brush, or dental pick to remove some of the flesh or fatty bits. I also tend to rinse the skull a couple of times in running water from an outdoor faucet, running water into the foramen magnum to help clean out the brain case. If need be, you can replace the skull and put the lid back on and wait another week or so. If the water is very cloudy, you may want to drain 2/3rds of it, pouring the water off over a sieve or screen to catch any teeth which may have fallen, and then fill it up again with clean dechlorinated water (I like to drain the water over my fruit trees in the yard so as to give a nutrient boost to the trees). This allows the bacteria remaining in the bottom 1/3rd a chance to colonize the skull and the newly added water. Put that lid back on and put the container back for a little longer.
If the skull is starting to look pretty clean, return the skull to the container full of water and then pour the contents out over a sieve or wire screen so as to not lose small bones or teeth which have fallen out of the skull. Rinse thoroughly, with patience and care. This is when pieces seem to get lost. Be patient and do it slowly. Once finished rinsing a few times, move on to the next step.

Great Horned Owl (Bubo virginianus) skull, 2022.09.16
Let the Sun in
A lot of folks love bright white skulls with no discolouration, but sometimes skulls do have some yellow spots due to oils in and adjascent to the bone. Sometimes this discolouration is called “corpse wax” which was a term I heard a lot before I knew what it was. I really don't mind this yellowing in spots as long as it doesn't smell, which I have not encountered, but others have mentioned this. There are ways to be rid of this discolouration and of any remaining smells. The easiest way is to let the Sun at the skull. Place the skull in a safe place, inaccessible to wildlife, which allows access to full Sun. I am unsure of the mechanics of it, but the Sun dries the skull, kills any remaining bacteria, greatly diminishes odours, and seems to dissipate some of the corpse wax. The Sun also begins breaking down the bones in it's own way as well, but that takes a lot longer than the water does, so it should be safe for a few days.
My kind of puzzles
Growing up, my mum used to sit in the living room putting puzzles together at the coffee table while I watched t.v. I never understood the appeal. But now I spend a ton of time sorting through the teeth and loose bones figuring out which sockets belong with which teeth and glueing them all in. Look in some books or photographs online of the skull of your animal and find images of the dentition. Seeing what it is supposed to look like really helps, just like the lid of the puzzle box my mum would reference. Once you've decided where the teeth should go and tried fitting the teeth in their appropriate sockets get out the glue. For gluing the teeth in, I use Elmers White Glue like I used for craft projects at school. This works really well for the teeth. Make a small puddle of glue on a non porous surface and run the root of the tooth through the puddle picking up some glue with it, and fit the tooth into the socket. White glue takes time to dry so there is opportunity to relax and not have to rush through this process. Once the tooth is placed, wipe off any remaining glue which has been displaced and overflowing from the socket. Sometimes you'll find that some of the teeth are missing, no matter how careful you were in the rinsing process. I think this is where the Tooth Fairy gets most of her business, stealing teeth from the skulls I am trying to clean. If this happens, don't worry. You can always go back to the spot where you drained your vessel, or just accept the loss and move on. I don't worry too much about losing smaller teeth like incisors on a Raccoon (Procyon lotor), but I do get sad about losing premolars and molars. It is hard to lose canine teeth as they are often larger, but if I cannot find them I try and complete the skull anyhow and try to do better at not losing teeth next time.
The hardest part, in my opinion of skull cleaning is not the skinning, the smells, the bucket, the rinsing, the goo, getting the teeth in or any of that. The hardest part are getting the mandibles together. Throughout the cleaning process the tissues which hold the mandibles together can dissolve leaving the jaw in two pieces. This is normal, but annoying. When gluing them back together you need to make sure they fit, and make sure they are the appropriate width to articulate well with the cranium. White glue is not strong enough to attach these bones permanently so I use Crazy Glue or Plastic Cement. These are often noxious chemicals which are terrible for the planet, but they are the only thing I know which works. Someone at the apprenticeship mentioned using Elmers White Glue for the mandibles. I have not found this to work yet, but you bet I’ll be trying it next time. Water-soluble, biodegradable adhesives are much better than toxic gasoline based adhesives that are permanently stuck on.
Make sure all of your incisor teeth are glued in to their appropriate sockets before trying to glue the mandibles together. Next, practice putting the mandibles together as if they were glued, but without actually applying any. This helps because with these stickier, faster drying, more permanent glues, you may not get another chance after putting things together. This is also a chance to make sure the bones still fit together as the maceration/cleaning process may have worn down or broken of the small pieces which enable attachment. If not, you may need to use more glue or sculpting putty to build the bone back so that it does fit. Luckily, I have never had to do this, but I have read some posts online where folks have had this experience. Sounds annoying. While practicing putting the mandibles together, fit them to the cranium. Take note of the angles of the mandibles and how they articulate with the skull. You'll need to maintain this angle while the glue is drying.
Get out the glue and glue your mandibles together. Some folks use clothespins or elastic bands or delicate little vices to hold the bones together while they set, but I tend to just sit there pinching the mandibles with one hand while maintaining the proper spacing of the mandibles with the other. After about 5 minutes I stop pinching the mandibles and see how they set. Usually this works, but sometimes it doesn't and I'll peel off whatever glue I can and then try again. I have failed a couple of times at gluing the manidles together and have ditched them, saving the canines for other projects, but most of the time it has worked. It is just tedius compared to the other stages of cleaning the skull.
Once the skull is cleaned and dried, and teeth are set, the mandibles are glued, you can set the cranium on the jaws and admire the work of evolution. How amazing that these skulls bring so many insights into the lives of the animals we study. How fortunate that we are still alive to admire the remains of the dead. How awesome that we have one of these boney structures protecting all the soft and delicate bits of our heads as well. Damn, it’s cool.

White-tailed Deer (Odocoileus virginianus) skull found in Grey County, 2019.11.17
Honour the dead, inspire the living
In a basic sense, the first law of thermodynamics says energy can neither be created nor destroyed, only altered in form. While I don’t know how all of thermodynamics play out, I take this as inspiration when I consider a skull. The energy an animal put into creating the skull of their offspring, and the energy that an animal went into maintaining their skull, and perhaps any energy, physical or not, that surrounds the skull, should be acknowledged and honoured. We can do this acknowledgement and honouring in all sorts of ways. By giving thanks for the animal and the skull which we have learned from, by telling the story of the animal and the skull which you found, by investing in learning about the animals who’se skulls you have, by teaching others how to appreciate these more-than-human neighbours of ours, and by working to ensure the survival of all species and habitats these animals require to live their lives in a good way. I really believe that there are many ways to honour our skulls, it really only depends on our creativity. All I suggest is that we do not leave the skulls alone, to gather dust, hidden away in cob webby corners of the room. I would never do this with anything else I care about, so why would I with a skull?
Thanks to everyone at the apprenticeship this weekend. It was a lot of fun.

To learn more :
Animal Skulls by Mark Elbroch, Stackpole Books, 2006.